Cisco Meraki Integration
Here we will show you how to activate the Cisco Meraki integration to give out cusom Wifi passwords to your visitors
Setting up Meraki integration
Enable Dashboard API Access
Log into Cisco Meraki, navigate to Organization > Settings. Locate the section titled Dashboard API access and select Enable Access, then save your changes.

Create an API key
Choose your username at the top-right of the Meraki dashboard and select My profile. Locate the section titled Dashboard API access and click on Generate new API key. Store your key in a safe place.

Note: If you do not see a button labeled “Generate new API key” then the API quota may be full. In this scenario, it is necessary to remove an API key before a new API key can be generated or locate an already generated key for use in the Envoy config.
Configure your guest SSID
Select under Security “Open (no encryption)”
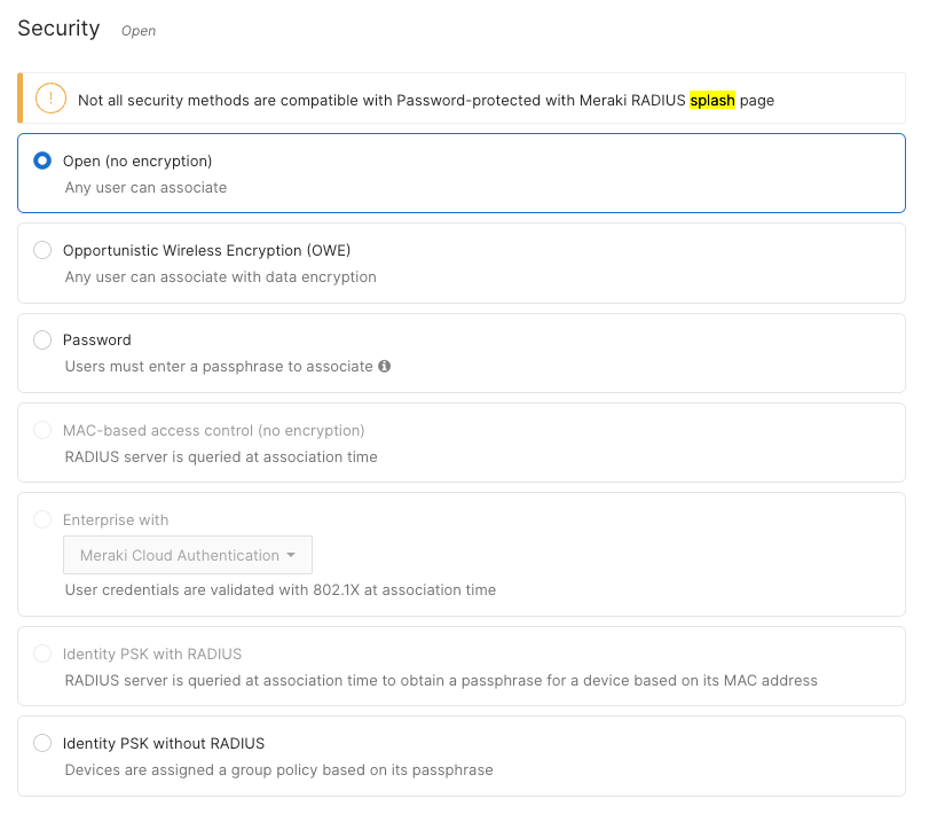
Select under Splash Page Sign-on with Meraki Cloud Authentication.
Make sure as well to Don’t allow self-registration under the Advanced splash settings

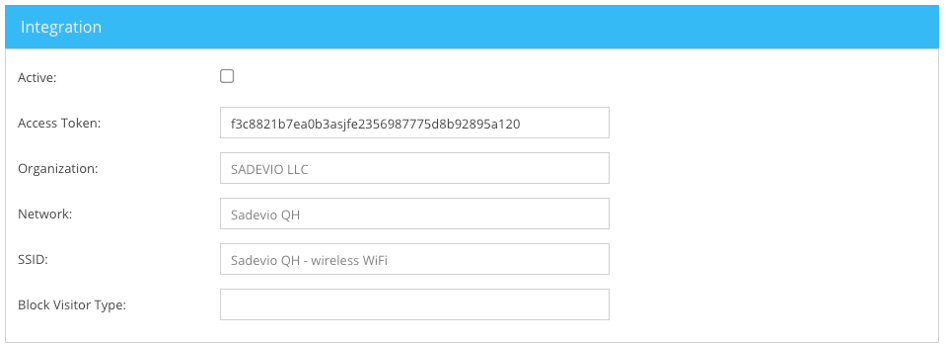
Configure Meraki in Sadevio
Maintenance > Front Desk > Select your Front Desk > Apps > Cisco Meraki
Start from the top to the bottom.
- First set your application token
- Select your organization
- Select the Network of your organization
- Select your guest WIFI SSID
- If you want to skip specific visitor types of receiving guest wifi access, enter the visitor types separated by ;