Install Velocity Web Service
Requirements
- Velocity Operator User: This is required for the IIS application pool.
- Velocity REST API Software: Ensure you have the necessary software for the REST API.
- Velocity REST API User Creation Tool: This tool is needed to create users for the REST API.
- Velocity License: A valid Velocity license is required.
- SDK2 or RestfulVelocitySDK (SEN 165034): Ensure you have either SDK2 or RestfulVelocitySDK with the specified version.
Installation
- Download the Velocity REST API Service Pack:
- Obtain the software pack by contacting Identiv IGS or your SADEVIO account manager.
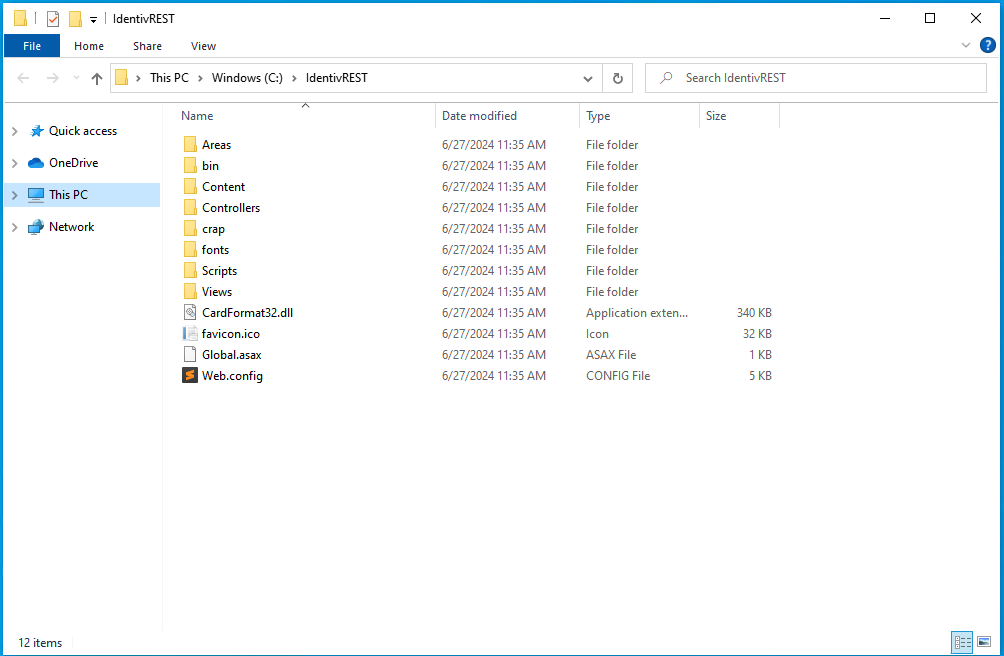
- Unzip the Directory:
- Extract the contents of the service pack to your desired location.
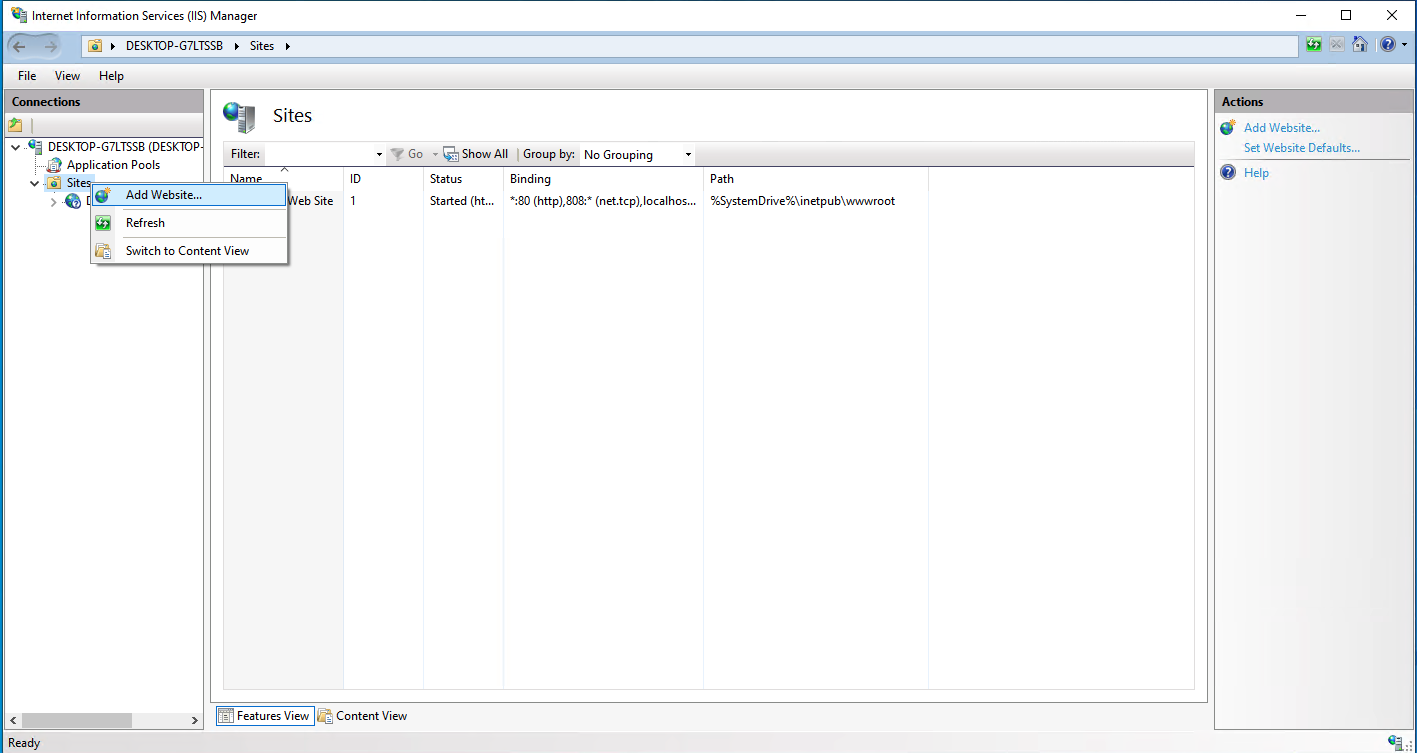
- Open IIS Manager:
- Launch the Internet Information Services (IIS) Manager.
- Add a New Website:
- In the left-hand Connections pane, right-click on "Sites" and select "Add Website..."
- Site Name: Enter a name for your site, e.g.,
velocityrestapi. - Physical Path: Select the directory where you have unpacked the Velocity REST API software.
- TCP Port: Set your dedicated TCP port, e.g.,
8088.

Configure the Application Pool:
-
- Windows Account: Ensure the service uses a Windows account that is a Velocity operator with administrative permissions to add/update persons in Velocity.
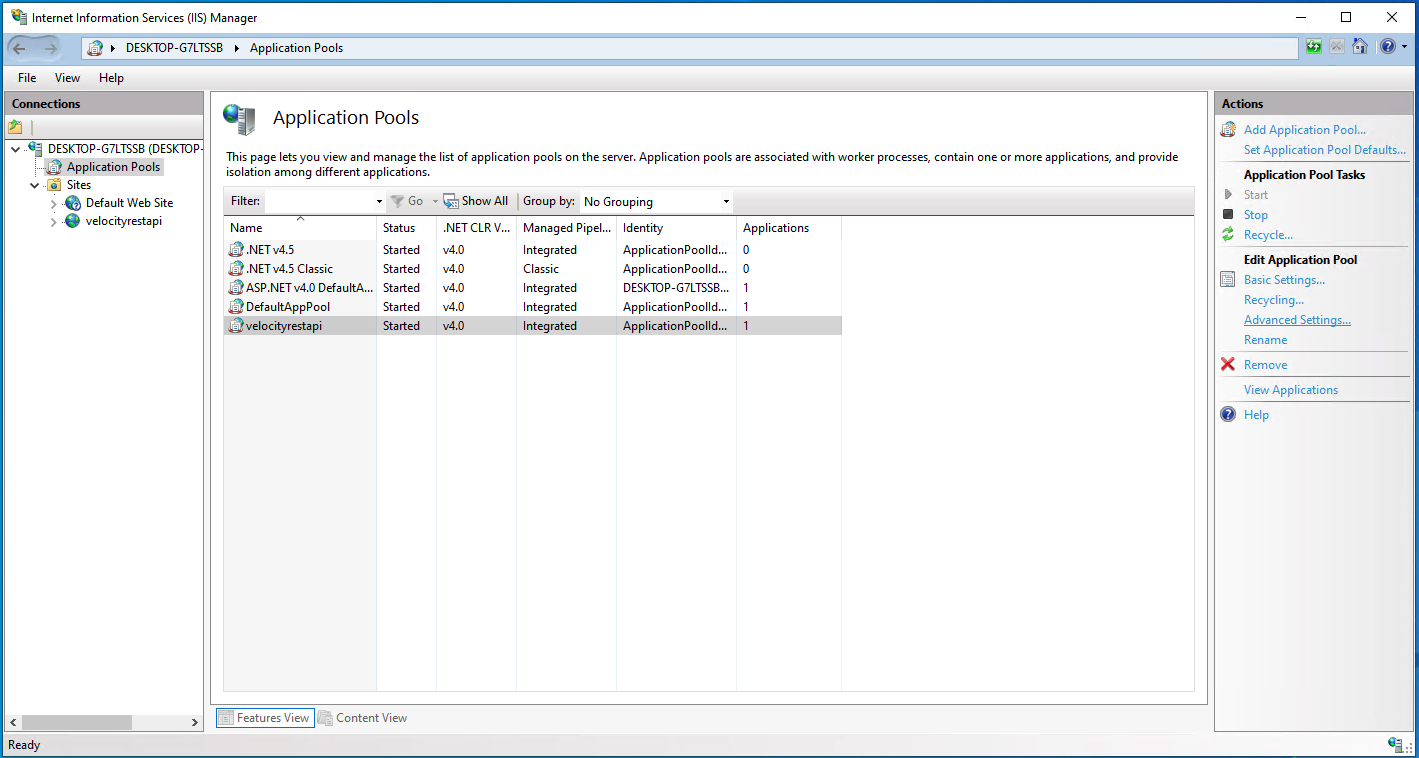
- Select the Application Pool:
- In the left-hand Connections pane, click on "Application Pools."
- Select your REST API application pool from the list.
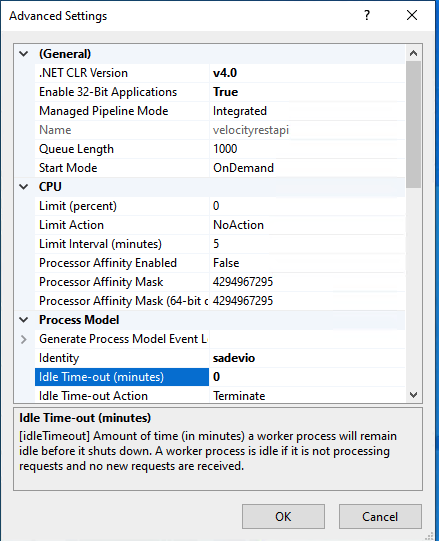
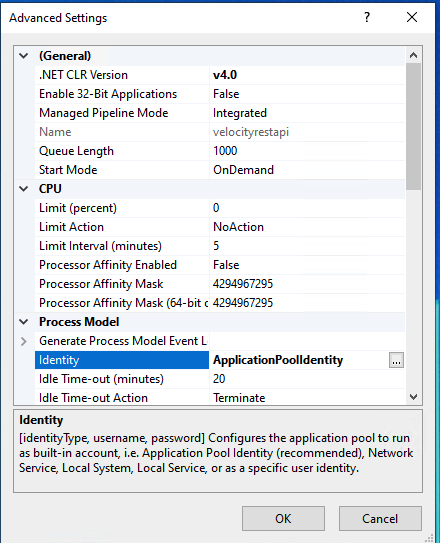
- Open Advanced Settings:
-
- In the right-hand Actions pane, click on "Advanced Settings."
-
- In the "Advanced Settings" window, locate the "Identity" option.
- Enter the credentials for your Velocity user.
- Restart the Website:
- After setting the user, restart the website context of the REST API.
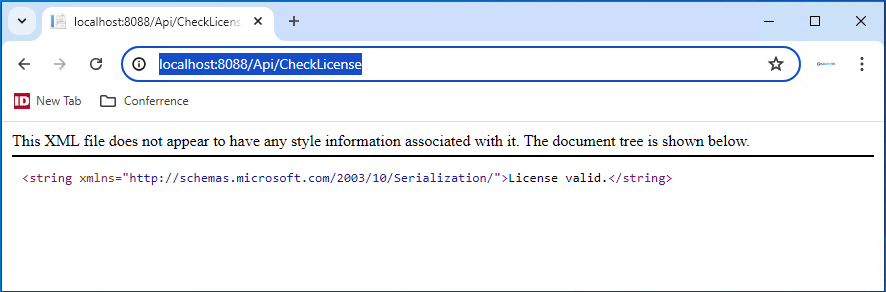
- Verify the Installation:
- Open a web browser and navigate to the check license endpoint to verify the installation:
http://localhost:8088/Api/CheckLicense
- Ensure everything is functioning correctly.
- Open a web browser and navigate to the check license endpoint to verify the installation:
IIS configuration
- Access Advanced Settings:
- Navigate to your application pool and select "Advanced Settings."
- Enable 32-Bit Applications:
- Set the "Enable 32-Bit Applications" option to
True.
- Set the "Enable 32-Bit Applications" option to
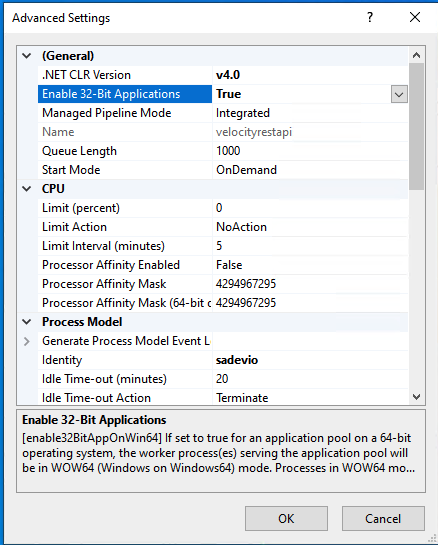
Configure Idle Time-out:
- Set the "Idle Time-out (minutes)" option to
0.